
Paperless Parent-Teacher Interviews, trialling Evernote and Kustomnote.
Posted: September 30, 2012 Filed under: Handy Tools | Tags: app, HandyWebResource, resource, template, website 2 CommentsForgive me for the down-time between posts, my energy over the holidays has been funnelled into pizza-eating, football-watching and very little exercise, rather than blogging and university assignments!

At the end of Term 3 I used these two resources to conveniently create and file my parent-teacher notes. This is just one idea, there are many others out there.
Firstly, some information below to familiarise you with the resources discussed in this post:
Evernote is a Windows/Mac/iOS/Web-based platform for taking notes and storing them in a cloud server for retrieval and synchronization across multiple devices. (See here for a great teacher blog, and many tips from an Evernote expert and enthusiast!)
Kustomnote is a web-based platform built specifically for use with Evernote. It allows you to connect your account and create multiple note templates for a range of needs (including anecdotal notes, guided-group notes and many more)
Now that we have the basics, this short post will be useful if you are, like me, finding resources that make things that we already do, even easier!
Once you have downloaded and signed up with Evernote, you are able to log in to Kustomnote using the same ID, which makes things much simpler. On the left hand toolbar, it was as simple as clicking ‘New note’ to customise the fields that I would be using before and during PTIs to record my notes, they looked like this:
- Student & Parent/Carers
- Interview Date/Time
- Wellbeing & Celebrations
- Literacy
- Numeracy
- Issues/Concerns
- Requested follow up interview (Yes/No)
- Teacher follow-up actions
You can view and clone my note here as I have made it available publicly. Please feel free to make changes, improve it and let me know!
With the Kustomnote template created, it was simply a case of creating a template for each student by clicking the ‘New Parent-Teacher Interview Mid-Year note’ button and entering the information for each student that I wanted to share with the parent. As I saved each new note, each student’s name and information conveniently appeared in my Evernote cloud across all my devices in an attractive, formatted note. I was able to use my iPad to communicate during interviews and add to existing notes.
Overall, I found the experience a great success. Although slightly time consuming to begin with (I spent a good hour experimenting with the templates and formatting) the process ultimately paid off and produced accessible, clear records of each meeting.
Evernote/Kustomnote :
Pros:
|
Cons:
|
I encourage everyone to have a look at the possibilities when combining these two excellent resources, and please share your uses for them in the comment space below.
Cheers, enjoy the rest of the break Aussie teachers!
Teddy.
How do you use Evernote professionally/personally?
What uses have you found for Evernote in the classroom that you can share in the comments section below?
Have you used any other software that complements Evernote?
5 Awesome Excuses to Publish, Publish, Publish!
Posted: September 19, 2012 Filed under: Handy Tools, Literacy | Tags: app, literacy, media, resource, writing 6 Comments
In an earlier post I wrote about publishing for a purpose, and giving students the opportunity to choose from a range of publishing tools/types to suit their writing. I have received some amazing feedback on Twitter and Facebook from my loyal PLN, and from my colleagues too. Here are some of the most talked about publishing resources I have discovered in the last few days.
Answergarden – Probably the best brainstorming, jigsaw tool that I have found all week. This site allows you to create a question for students (or staff!) and monitor their answers using the generated link. I love having this on the smartboard while small groups of students add to the brainstorm via a shared netbook. No sign-up, no obligation. Try one out here!
Flipbook – This tool is awesomely simple to use: create, export. It is as simple as that. Students can create a digital flipbook and export it as a GIF file to their email. I love the idea of this being integrated into a mixed-media publishing approach – e.g. students publish their flipbooks to their wiki or blog page.
Piktochart – An infographic creator tool that offers three basic templates and a video tour for students, which I think is a great starting point to introduce the topic. I am really excited to try this one out in the first week of Term 4, I’ll keep you posted!
Glogster – A big thank-you to Hana who posted this on the OpenEdToolbox Facebook page! I have not used Glogster in the classroom (yet!) but their .edu address offers simple templates which students can use to create an interactive poster including music, video, text and even data-attachments. Thanks again, Hana!
Sock Puppets – I owe another thank-you to Mary (Follow her @Mj0401Mary) who shared her experiences with this app in the comments on one of my posts. There are heaps of similar apps out there for iPad to animate and record, but I’m sharing this one because it looks great and I think Mary deserves a mention!
Finally…
Search Cube – This one is a research tool, not a publishing tool. It is extremely cool though. My students love it! Give it a click!
I am also looking forward to posting about the shake-up of my classroom design and changes to my literacy block in Term 4, I’ll keep you posted!
Enjoy the last days of Term 3, Aussie teachers! To everyone else, keep up the good work!
Cheers,
Teddy.
Have you successfully used any publishing tools in your classroom that I haven’t discussed here? Share them in the comments section below.
Graphic Organisers in the Classroom
Posted: September 7, 2012 Filed under: Education, Literacy | Tags: 21stcentury, app, Apple, brainstorm, iPad, learningtool, links, literacy, reading, resource, tablet, teachingtool, template 3 CommentsOne of my favourite things about graphic organisers is their application to a wide range of topics and student abilities in our classroom. I find that students learn best when they are made to feel as if they have some choice in their planning approach and, when appropriate, I find that offering a range of planning alternatives is a great way to cater for each individual.
I gradually introduce various graphic organisers through the tuning in part of my lessons throughout Term 1, and encourage their use in reading groups (scaffolded and independently). As the school year progresses, students begin using their prior knowledge to select templates that suit their task. I also have a small window display that I provide for student reference.


There is a huge, potentially endless, range of resources out there. I have narrowed this list down and added some of the ways I integrate them into our classroom learning. Great news for techies too, as there is a growing range of graphic organiser apps being built and shared for iPad-based education!
Websites:
Freeology (Graphic Organisers) – I like this website because of the huge amount of effort that has gone into giving ideas for almost every graphic organiser template. If you want to introduce these to your reading/writing groups there is a great range of ideas located here.
Eduplace – The templates here are clean and simple. They are useful in the Adobe Reader app for iPad, as students are able to annotate and save their work using the app. These are predominantly the templates that I use on my displays and offer to my students.
The graphic organiser BLMS look best when they are printed on to coloured cartridge paper. I have considered colour coding them in the past, but I’m not sure how useful that would be. I’ll get there eventually.
Wordle – www.wordle.net – This fun tool lets you play around with texts that you provide and create a ‘Word Cloud’ that gives frequently occurring words more notability. Before reading a news article I copy the content into the Wordle and my grade hypothesise what the news story might be about.

Apps:
Gliffy – http://www.gliffy.com/ – (Requires signup – Free 30-day trial) A handy resource both professionally and for students’ use. This one requires some time investment but it produces some pretty darn cool results.
Popplet (lite) – iTunes Store – A colleague introduced me to this student-friendly app with a neat, simple interface. Multiple graphic organisers can be saved in one app (Full version only) and then exported as PDF or JPEG files. The lite version allows for one local copy and you can still export your files – I find that this is workable if you are only using it in small groups or have a 1:1 iPad/student ratio.
iMindmapHD – iTunes Store – A step up from the simplicity of Popplet but it makes up for it with some trickier user features. The free app is quite restricted but still provides enough options to be worthy of a mention and make the list.
Teacher reference:
Take a Look (Kath Murdoch) – A colleague introduced me to Murdoch’s inquiry-based teacher tools. Her reflective tools are no exception. This text is well worth a Google.
WA First Steps (Reading, Writing, Viewing) – A formidable resource that we use in our annual, term and weekly planning. They aren’t cheap, but are worth a look from a team based/whole school planning initiative.
Finally…
Today I was in the world of Twitter and I stumbled across this article on the (extremely awesome) tech website, Mashable:
http://mashable.com/2012/07/09/how-to-create-an-infographic/
This has inspired me to lead my Grade 3/4s down the infographic path in Term 4, what possibilities! I’ll keep you posted.
Cheers,
Teddy.
Thank you all so much for your support and kind comments so far. Please use the section below to share some of your uses for graphic organisers in your classrooms, here are some questions to get you started:
Do you have a favourite resource that I haven’t mentioned? How do you integrate it into your practice?
Should we be working towards making everything tech-based (iPads, apps etc.) or do BLMs still have a place in our students’ planning and brainstorming?
Do you have a blog? Share it with us below!
App of the Month – Criteria
Posted: September 1, 2012 Filed under: Education | Tags: 21stcentury, app, Apple, appofthemonth, computing, internet, iPad, iPod, learningtool, resource, tablet, teachingtool 1 Comment
Colleague: ‘What apps should I get?’
Rotate iPad 90 degrees, shuffle across to them,
Me: ‘Well…’
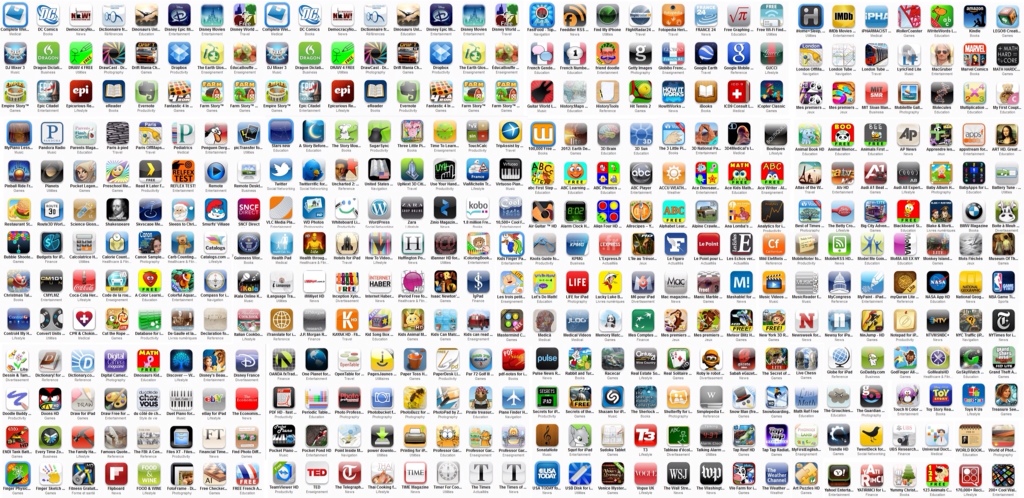
The reality is that there are just so many apps out there, for such a range of purposes, that it is not always possible (in the same time it takes to drink your lukewarm coffee) to pinpoint to a colleague exactly which apps are relevant, useful and practical for them. My current experience of app-based technology in education is an enthusiastic group of professionals spending precious time integrating apps that actually make their lives more complicated! Personally, I have done this and later found myself spending more time re-reorganising files and folders, notes and photographs to get everything back into one, accessible space. I can say the same for so-called lesson enhancing apps.
Reflecting on this, I’m sure we all agree that our focus is best directed when we find an app that does a better job for us than we are doing already. I’d like to clarify my future posts by categorising apps under three simple terms – those being that the app makes things easier, faster or cooler.Because every student will tell you that if it (the lesson) is easy to interact, fast or cool, they’re in. And teachers? Well, I can only speak for myself…
With this in mind, I’m going to choose an app each month that achieves one, two or all of these criteria, to share and evaluate them. Perhaps by explaining their usefulness under these simple terms, I can make them more readily accessible to you.
I look forward to hearing your feedback, experiences and suggestions for alternatives so that this monthly section can become a forum and resource for others. Please feel free to use the comments section to direct future posts or any app categories that you would like to discuss.
Happy Apping!
Teddy.
Disclaimer: I am by no means an Apple expert. I will only present apps that are tried and tested.


